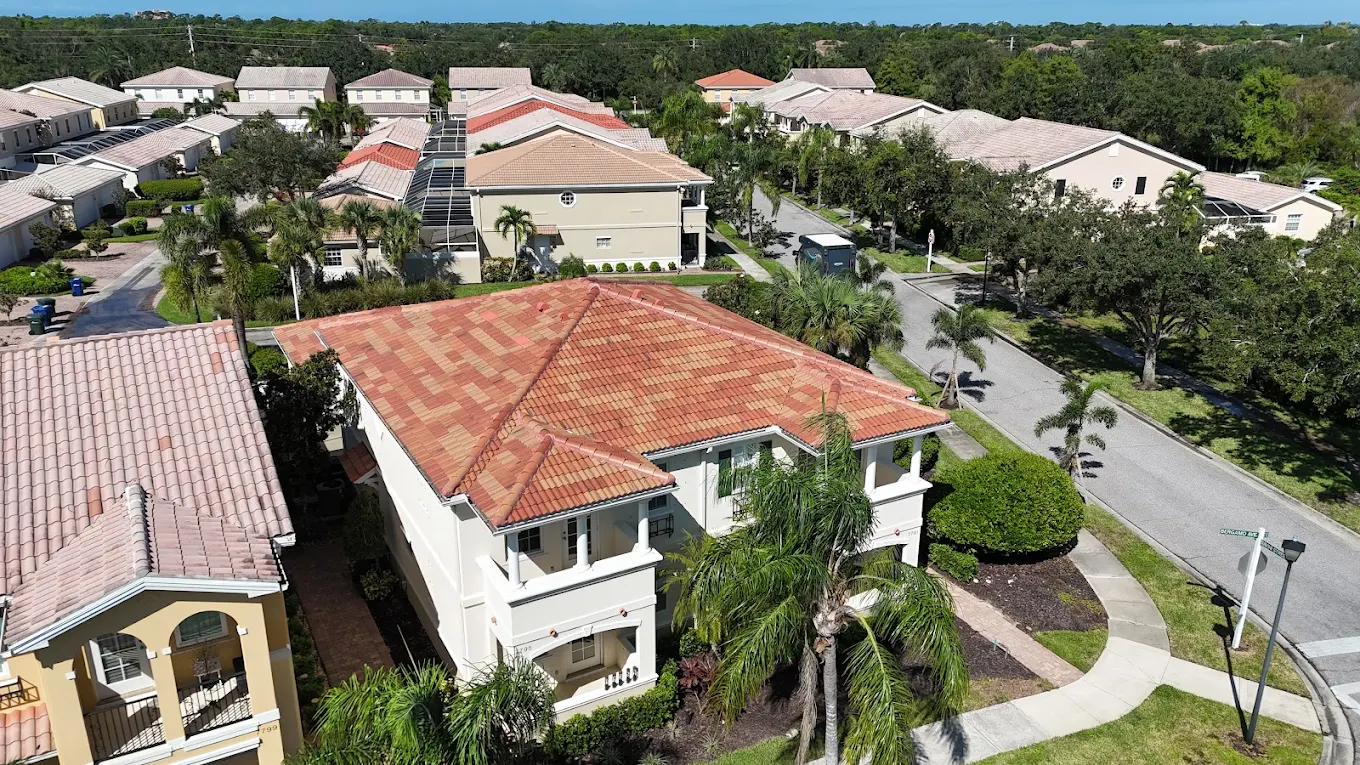
What to Expect During a Professional Roof Installation Process
Scheduling a new roof installation is a big decision—especially here in Florida, where your roof does more than just keep the rain out. It’s your home’s first line of defense against tropical storms, high humidity, and relentless sunshine. If you're planning to replace your roof with a high-quality tile system, you’re making a smart, long-term investment. But we get it—if this is your first time going through a roof replacement, it can feel like a mystery. How noisy will it be? Do they tear everything off? What’s involved in getting it done right?
At Pelican Roofing, we believe homeowners deserve full transparency about the installation process. When you know what to expect, it builds confidence, eases the stress, and helps you make informed decisions every step of the way. Let’s walk through the full journey of a professional roof installation—from prep to final inspection—so you can approach your project with clarity and peace of mind.
Before the First Tile: The Pre-Installation Checklist
Every great roof job starts long before the first tile is laid. It begins with a detailed inspection and planning session. A qualified tile roofing contractor will inspect your existing roof—inside and out. This includes checking the attic for signs of leaks, moisture, or inadequate ventilation, and assessing the structural integrity of the decking beneath your current roof covering.
Your contractor will then outline a full scope of work. This includes the type of tile to be used, the underlayment system, the fasteners, ridge cap details, and flashing locations. They’ll also handle permit applications with your local municipality and confirm that everything complies with Florida’s strict building codes, especially for wind resistance. Once permits are in hand, you’ll schedule the installation. Weather is always a factor, so your contractor will choose a window that minimizes the risk of interruption—ideally outside of peak storm season.
At this stage, you’ll receive guidance on preparing your home. That might include moving patio furniture, parking cars away from the work zone, and securing delicate items inside the house, as vibrations from the roof tear-off and installation can be felt indoors.
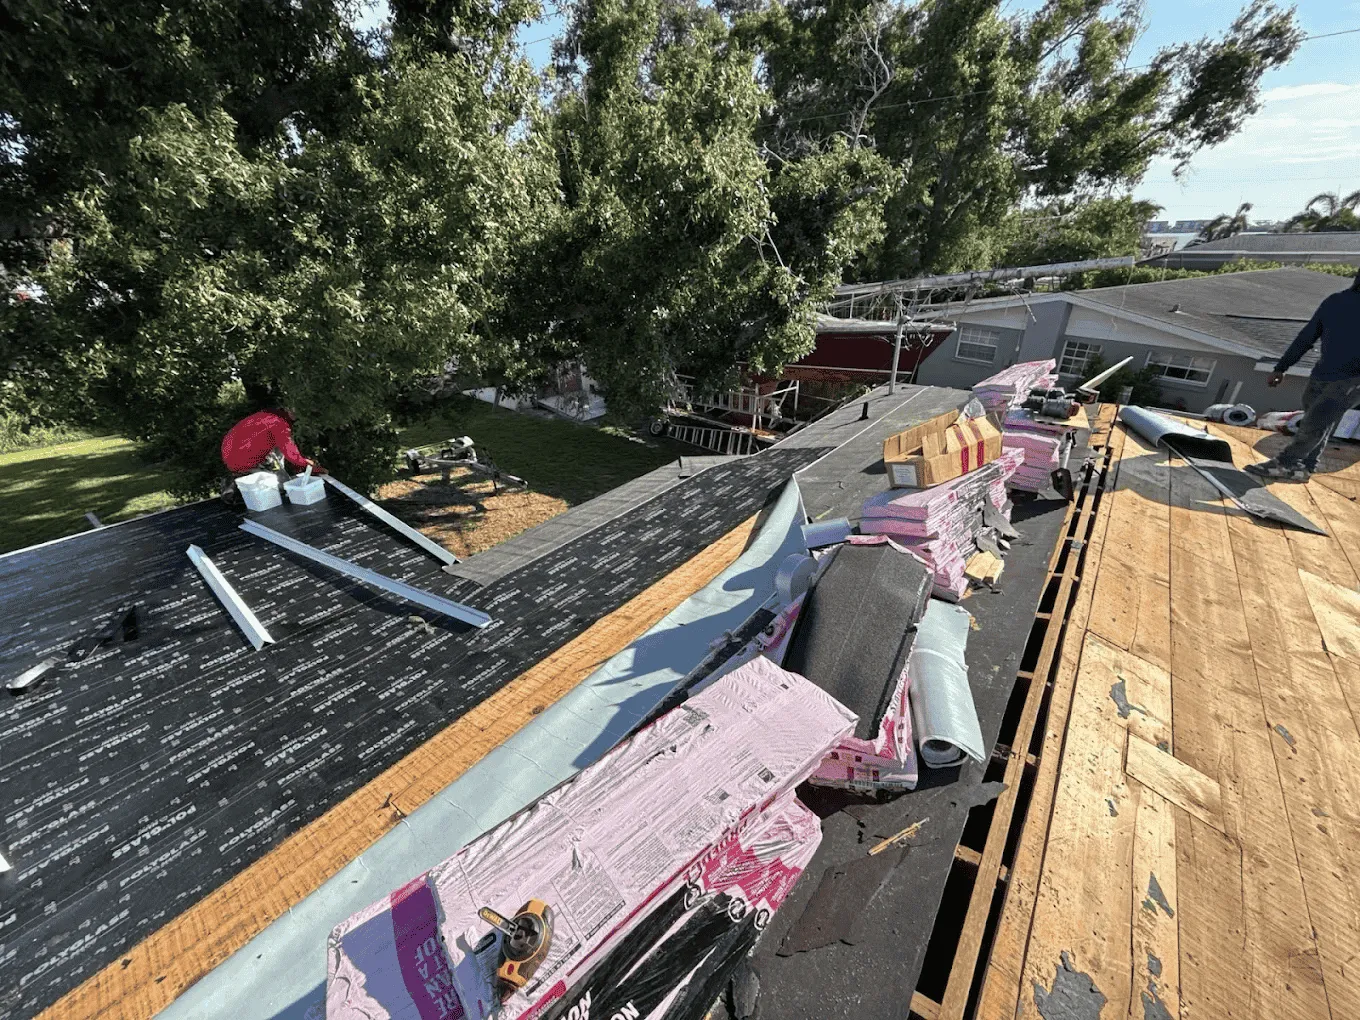
Out with the Old: Roof Tear-Off and Deck Inspection
On installation day, the first step is removing your old roofing system. This is a full tear-off—down to the decking. Unlike overlay jobs (which aren’t allowed for tile in Florida), a tear-off ensures that the roof structure can be fully inspected and any damage addressed.
Crews will start early, laying down tarps to catch debris and protect landscaping. Then, tile by tile, the old roof comes off. Along the way, your contractor will check the decking for rot, water damage, or structural issues. If any decking needs replacing, it will be done now—this is critical to ensure a strong, level foundation for your new tile system.
It’s worth noting that this phase can be noisy. Hammering, scraping, and hauling debris are all part of the process. You can absolutely remain at home during the installation, but it helps to know what to expect. Pets and small children may be more comfortable elsewhere for a day or two, especially during tear-off.
Building the Layers: Underlayment, Flashing, and Waterproofing
With a clean deck exposed and ready, the real work begins. A tile roof isn’t just tiles—it’s a layered system designed to shed water, resist wind, and protect your home from Florida’s harsh climate.
First, a high-performance underlayment is installed. This layer is what keeps water out if a tile cracks or dislodges during a storm. In Florida, most professionals use a synthetic or self-adhered underlayment rated for high temperatures and wind uplift. This layer is carefully fastened and sealed around all roof penetrations—vents, chimneys, skylights, and pipes.
Next comes the flashing. This includes metal components that guide water away from critical areas, such as valleys, eaves, sidewalls, and roof junctions. Proper flashing is non-negotiable—it’s your roof’s secret weapon against leaks. Your contractor will also install drip edge along the perimeter to keep water moving off the roof without damaging fascia boards.
Ventilation is also addressed at this stage. Ridge vents or soffit vents may be added or upgraded to help manage attic temperatures, reduce moisture buildup, and improve overall energy efficiency.
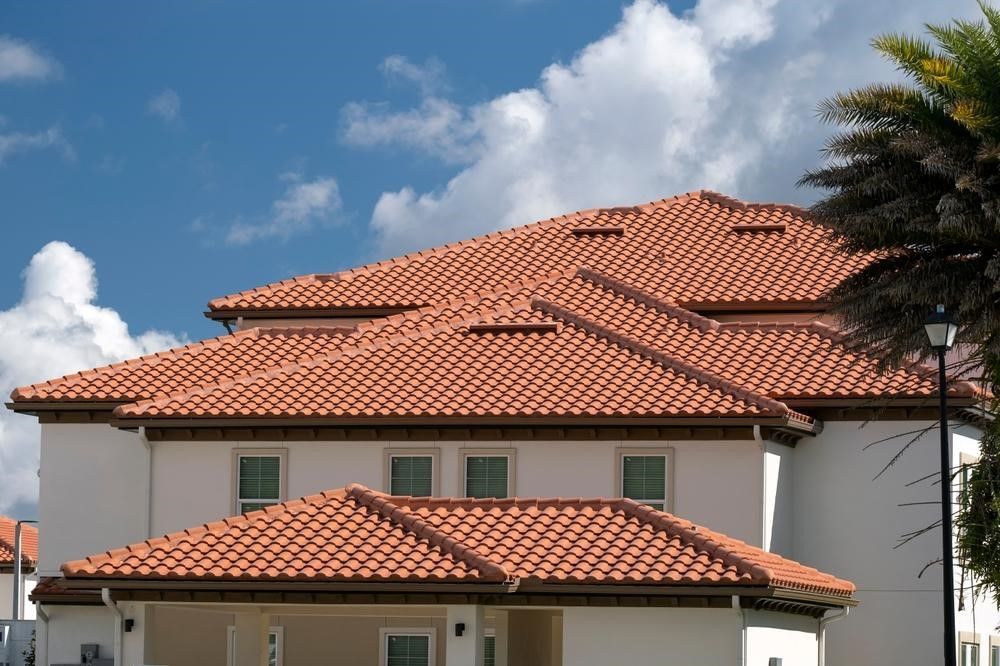
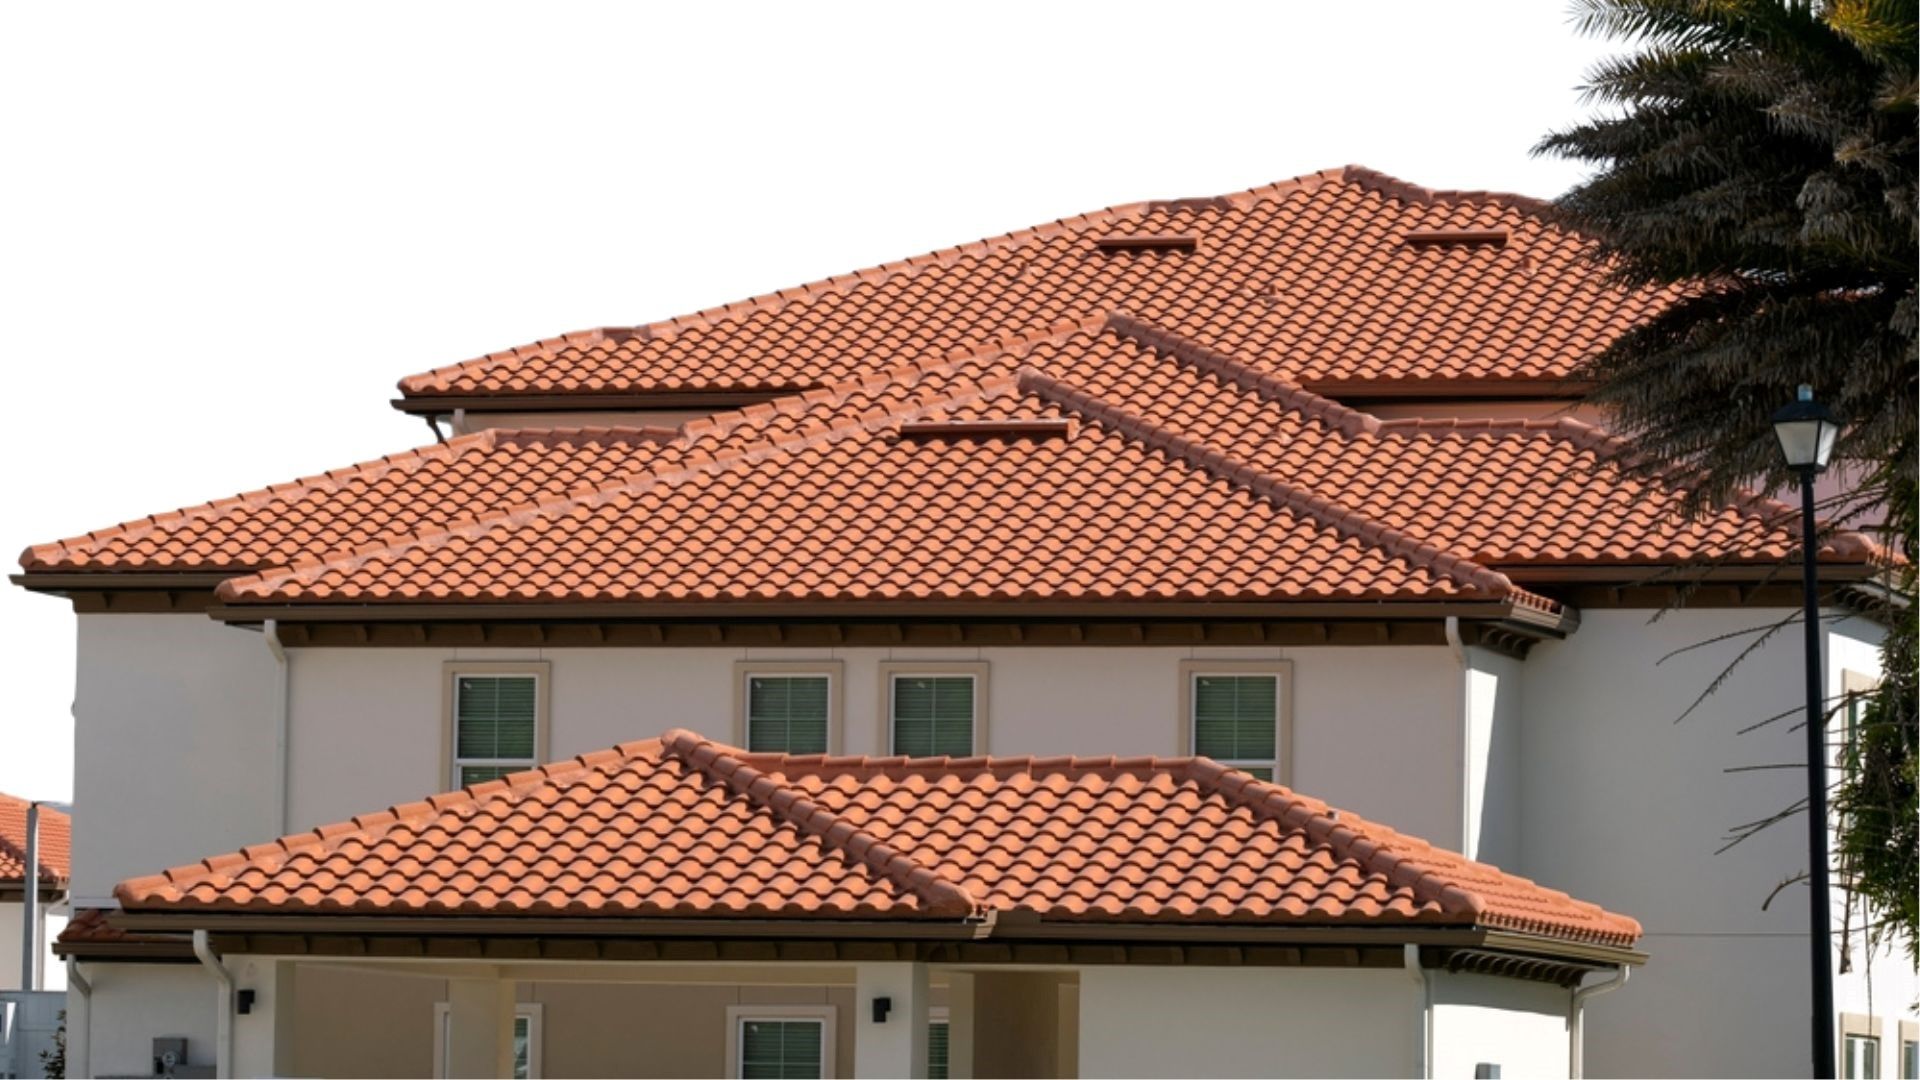
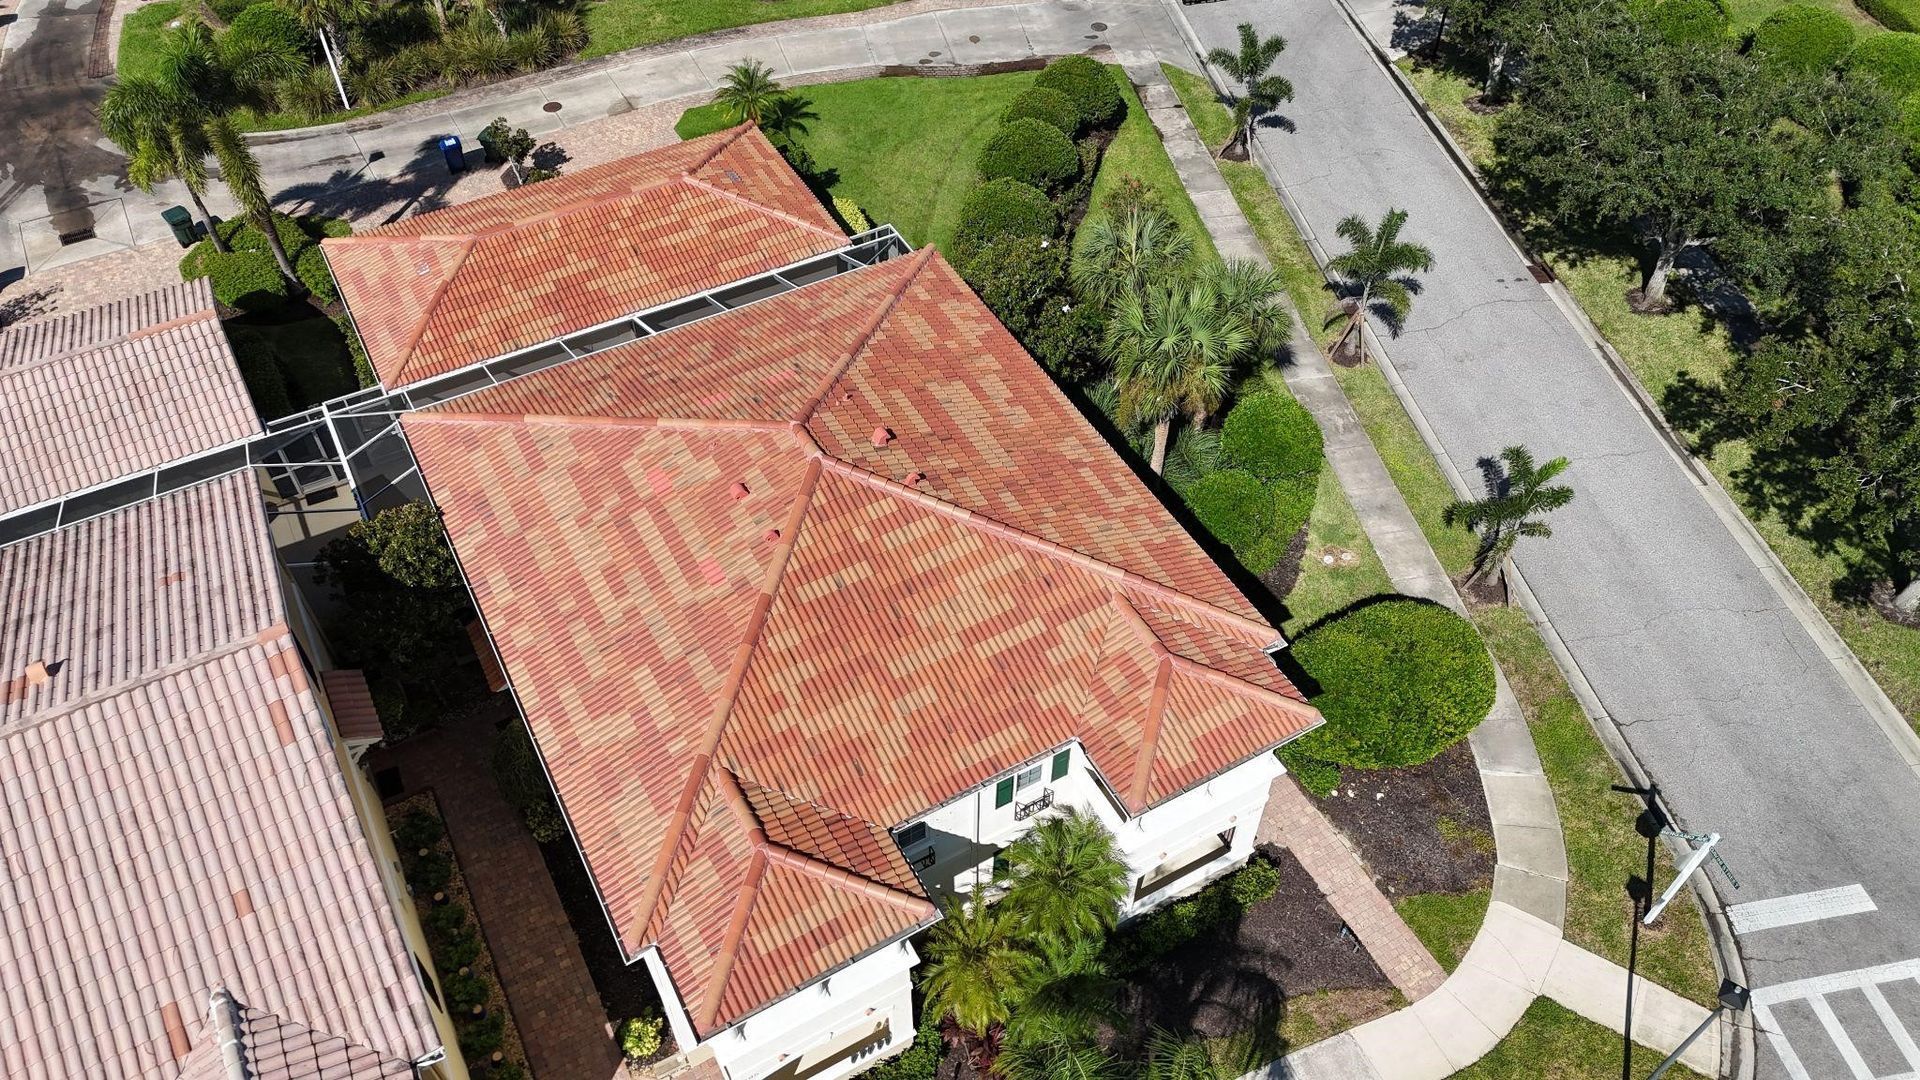
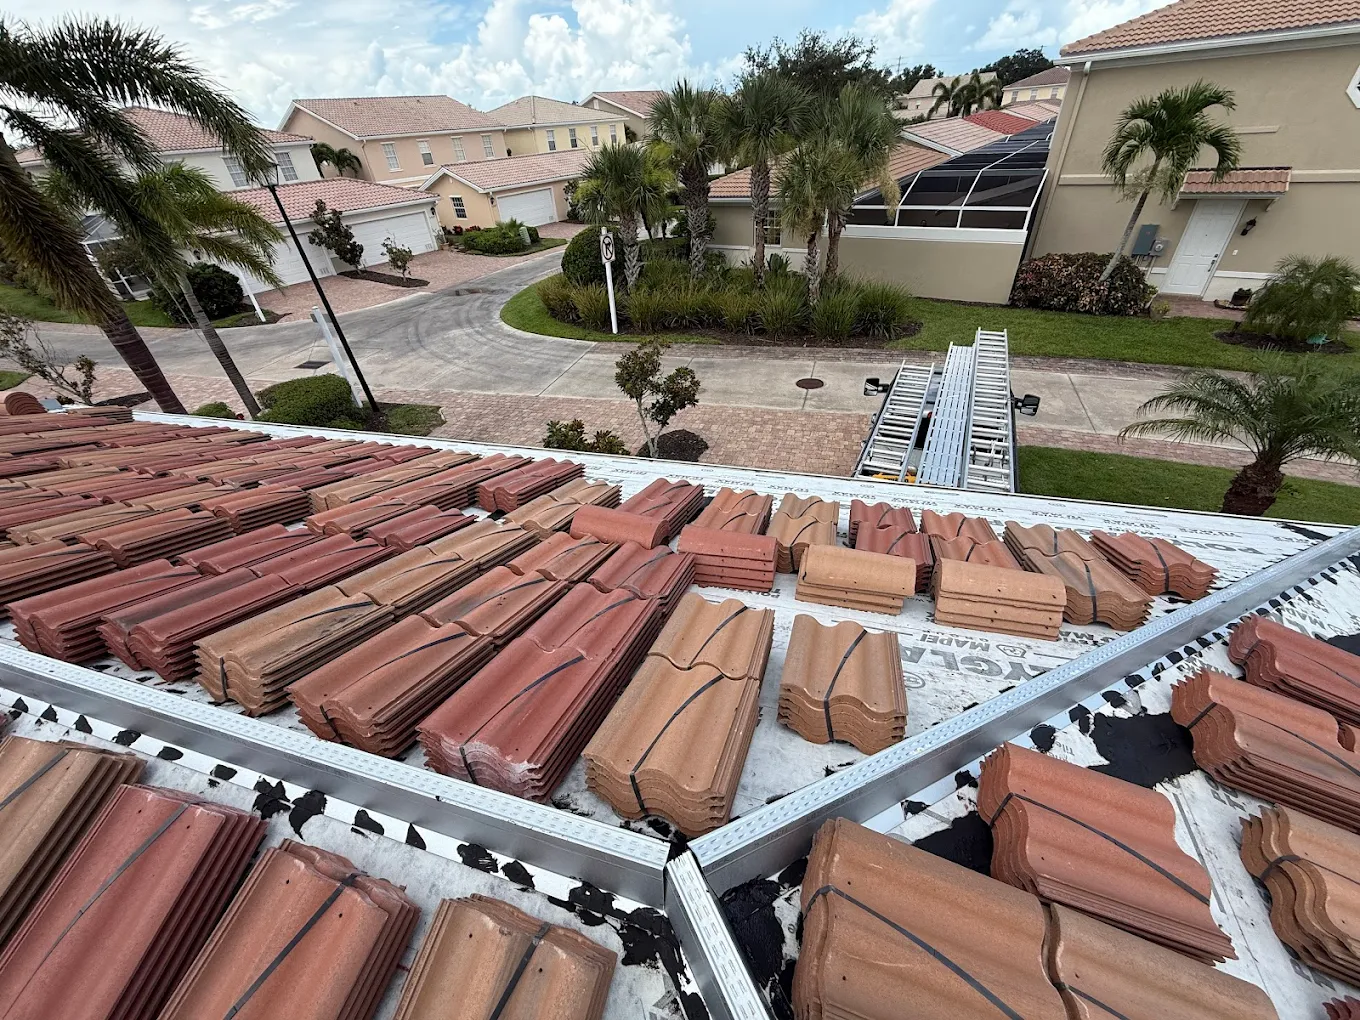
Laying the Tile: Precision, Craftsmanship, and Wind Resistance
Once the protective layers are in place, tile installation begins. The tiles are laid row by row, starting from the lower edge of the roof and working upward. Every tile is secured according to the Florida Building Code and the manufacturer’s specifications. This often means stainless steel nails, foam adhesives, or mechanical fasteners—depending on your roof pitch and tile style.
Special attention is given to ridge caps, hips, and valleys. These areas are the most vulnerable during high winds and heavy rains, so your crew will use reinforced mortar or mechanical attachments to lock tiles in place. Proper spacing and alignment are key—not only for performance but also for appearance. A well-installed tile roof is more than functional; it’s beautiful.
Expect this phase to take a few days, depending on your roof size, complexity, and weather conditions. Throughout, your contractor should be keeping you updated—communicating about timelines, material deliveries, and any unexpected findings.
Final Inspection and Clean-Up
After the last tile is placed and the ridges are sealed, your contractor will walk through a detailed final inspection. They’ll confirm that tiles are aligned, properly fastened, and fully sealed. Flashing will be checked, gutters cleared, and underlayment coverage verified. This inspection ensures that your roof meets all local code requirements and manufacturer standards—protecting your warranty and ensuring long-term performance.
Equally important is the clean-up process. Your property should be left in excellent condition, with all debris, nails, and trash removed. Crews often use magnetic rollers to pick up stray fasteners from driveways and lawns. Any damage to landscaping or structures should be addressed and repaired as part of the contractor’s clean-up commitment.
At this point, you’ll receive your final documentation—warranties, permits, inspection reports, and maintenance tips. Be sure to store these safely; they’ll come in handy for resale, insurance, or future service.
Living at Home During Installation
Yes, you can live at home during a tile roof installation, and many of our clients do. Just be prepared for daytime noise and occasional disruptions. Crews typically work during daylight hours and focus on safety, but it’s smart to let neighbors know about the project and make plans for pets, especially if they’re sensitive to sound. Inside, consider removing photos and valuables from walls and shelves, as vibration can cause minor shifting. If you work from home or need a quiet environment, plan for a few offsite days during the busiest parts of the job.
How to Ensure Your Roof Is Installed Properly
The best way to ensure a proper installation is to start with the right contractor. Choose a licensed, insured, and experienced tile roofing specialist—someone who doesn’t just install roofs but understands Florida’s unique weather patterns and building codes. Ask for references, review past work, and don’t be afraid to ask questions during your consultation. A professional contractor will be transparent about the process, provide a detailed written proposal, and stand by their work with strong warranties.
Once installation begins, don’t hesitate to communicate. If you have questions, want to see progress, or need clarification, a good contractor will make time for you. After all, this is your home—and a properly installed roof isn’t just a technical achievement. It’s peace of mind, storm after storm, year after year.
Your Professional Roof Installation
Replacing your roof is a major project, but it doesn’t have to be overwhelming. When you understand the process—from tear-off to tile placement to final inspection—you can step into it with confidence. A tile roof offers unmatched durability, energy efficiency, and beauty for Florida homes. With the right team on your side, the experience should be smooth, transparent, and rewarding.
At Pelican Roofing, we’re here to guide you through every step. We specialize exclusively in tile roofing and understand what it takes to build roofs that last in Florida’s climate. If you’re planning a new installation, give us a call. We’ll walk you through every detail—no surprises, just top-tier craftsmanship and dependable service.
Call us today at
941.914.4088 or
request a free estimate to get the right roofing solution for your Florida home.